The code and model are both available on GitHub.
Prepare
- ESP32 board with external 2,4 GHz antenna
- VS1053b shield
- Rotary encoder (KY-004)
- LCD display 16×2
- Infrared diode VS1838B with any controller (hex signals have to be defined in code)
- Button PBS-10-B2 or any momentary button
- ON-OFF switch KCD1-11 or any ON-OFF switch
- microUSB cable (with male microUSB connector)
- USB-C female connector
- Soldering equipment
- Glueing equipment
- All printed 3D models (krabicka.stl and viko.stl)
- 6 smaller screws and 4 pads
Software upload
Now let me show you how to upload code. There are two ways to do it (OTA wireless or USB by wire). Firstly, we have no code in ESP32, so we must use USB by wire method firstly. For this purpose there are PDF manuals to do everything needed. For uploading code to ESP32 on GitHub via both PlatformIO and ArduinoIDE methods (GitHub link).
When you have code uploaded to ESP32, software part is done. Then you have to do these hardware things.
Assembly
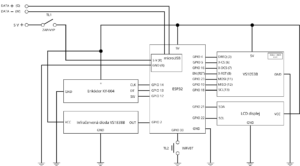
Here is schematic view of circuit. This is key image to solder whole circuit properly.
Step 1
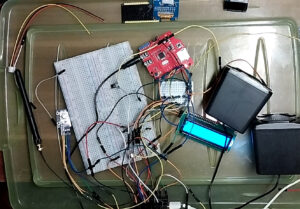
We have to do a pre-soldering step as we need to test our connections (if you don’t want to verify code firstly, you can skip this step).
Step 2
Solder all connections together apart from ON-OFF switch and infrared diode (ESP32 and VS1053b can be soldered inside box, but it is harder).
Step 3
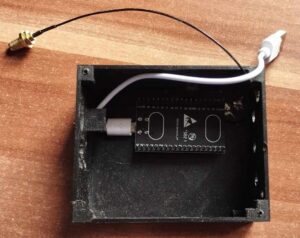
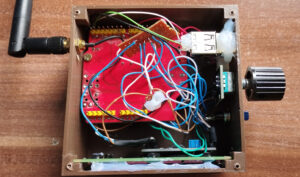
Put everything in printed box, glue ESP32 on bottom of box and screw rotary encoder, VS1053b shield, SMA pigtail, button and push ON-OFF switch in hole. From the top of box do three tiny holes for infrared diode pins and push diode’s pins inside box to let head of diode out of the box. Glue LCD to the wall of box.
Step 4
Lastly cover box with cover and screw all 4 corners. Cover screws by pads as you can see on image below.
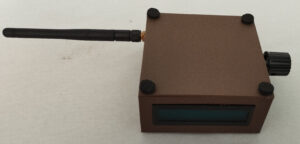
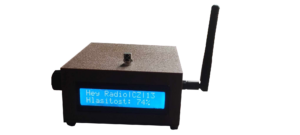
Výsledné zařízení